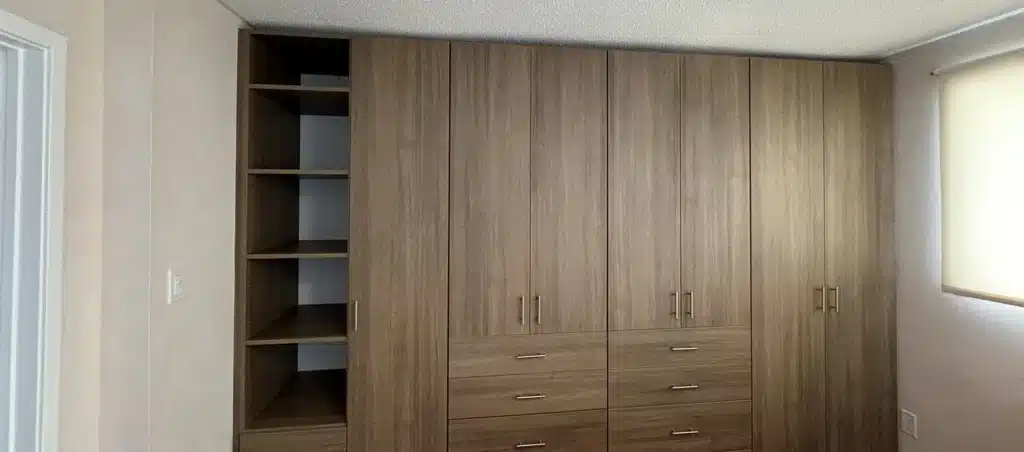
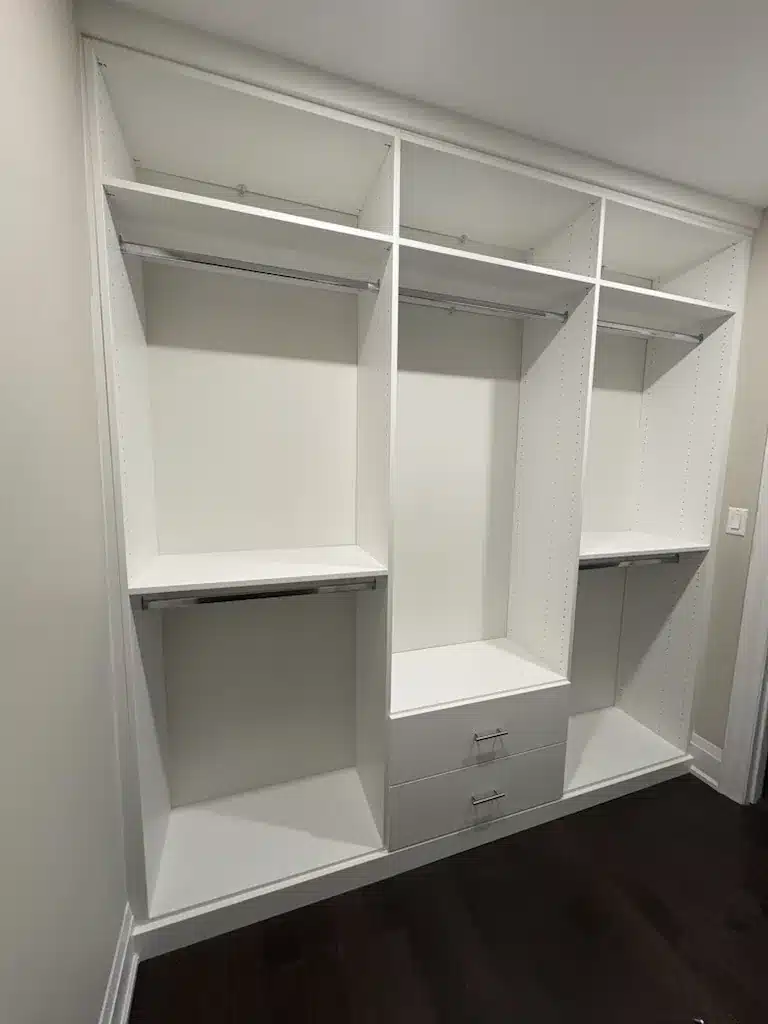
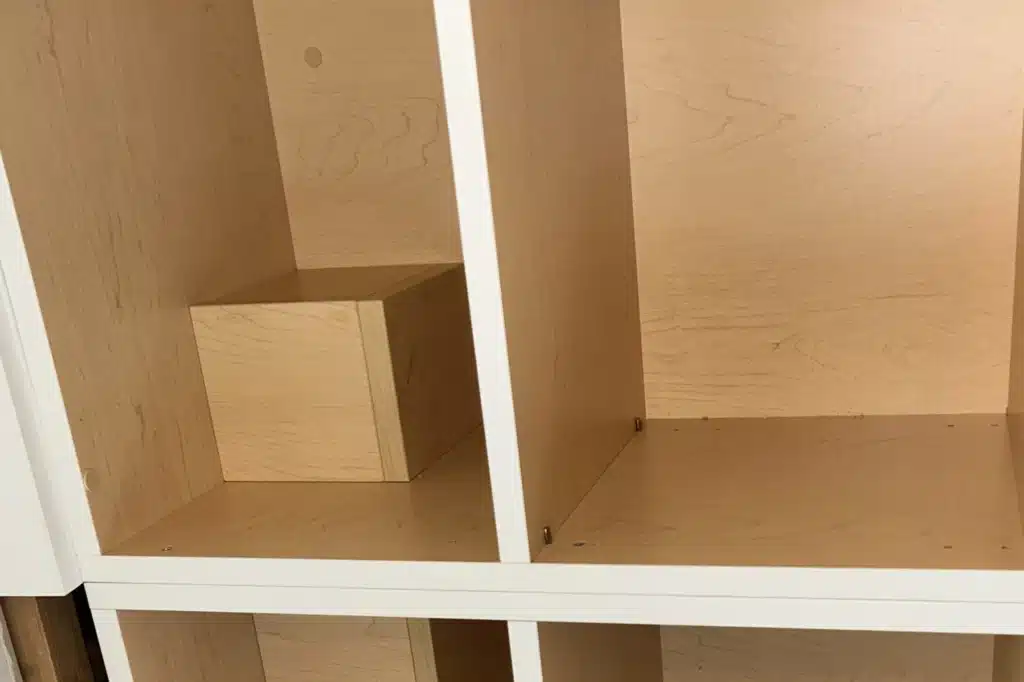
Go look at the bookcase in your living room. There’s a gap between the top of it and the ceiling, and that gap holds dust, a wicker basket and possibly a framed diploma nobody got around to hanging. There’s another gap on each side, where the case ended and the wall kept going. Push the top corner and it moves a little. Somewhere behind it, if you were sensible, a metal strap is screwed into drywall.
None of that is a fault in the bookcase. It was built in a factory to suit a room it never saw, so it suits yours approximately. Built-in shelving starts from the other end of the problem. Somebody measures the room, then the shelves get cut to what the room actually is.
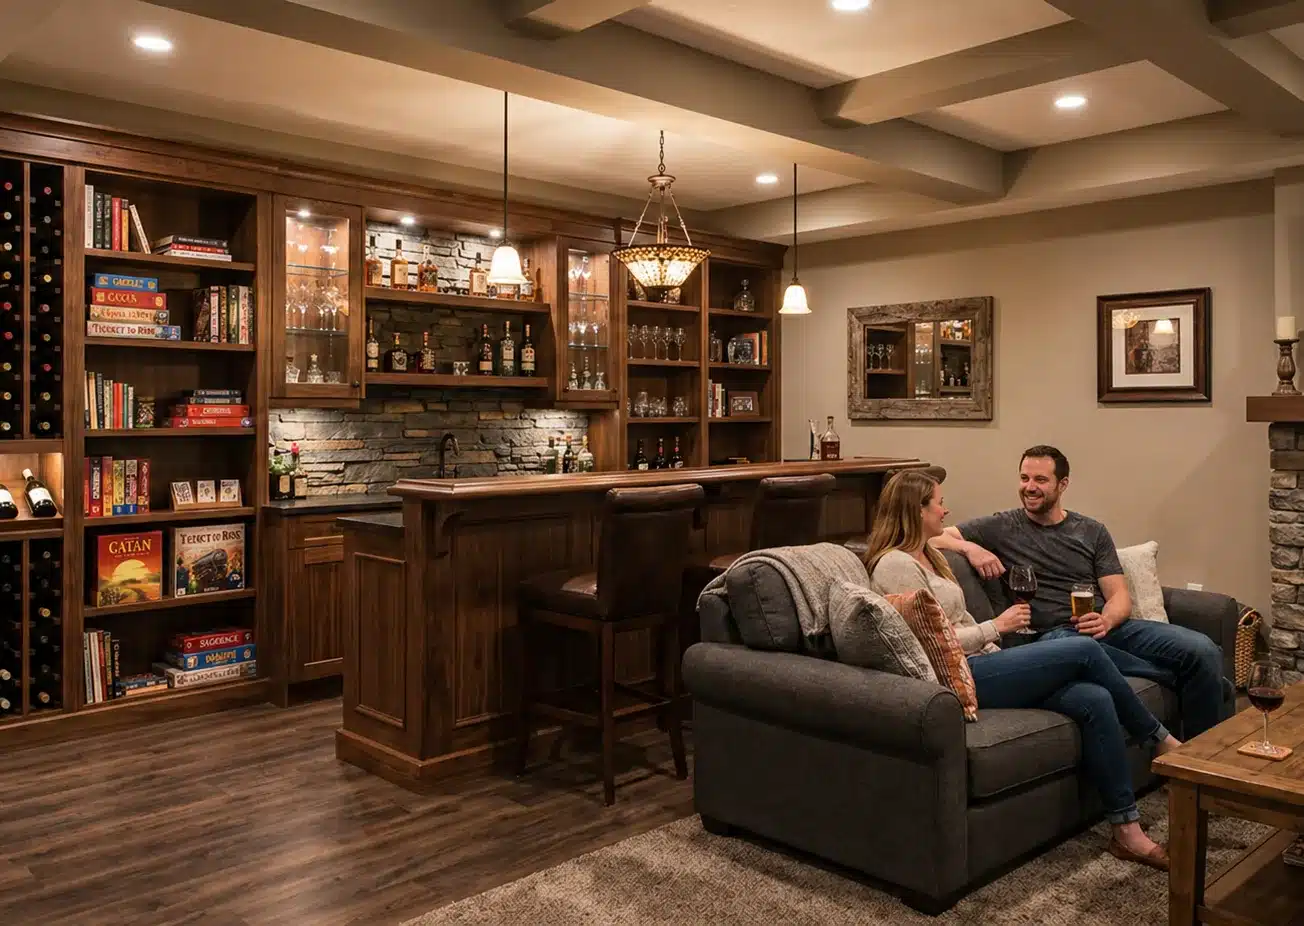
Closed cabinetry below, open shelving above, and the whole run finishing into the wall instead of stopping short of it.
The Gaps Are the Whole Argument
Take a wall 116 inches wide and 96 inches tall. Put two store-bought bookcases against it and you’ve covered maybe 72 inches of width and 72 of height. You paid for storage and received about half a wall. The leftover strip at each end is too narrow to use, and the shelf of air on top becomes long-term parking for whatever you couldn’t file.
Built to the room, the same wall gives you all 116 by 96. More shelf, obviously. The bigger change is what happens to the room: the wall stops reading as a place where furniture is standing and starts reading as part of the house, the way a window casing or a fireplace surround does. That’s why built-ins tend to be described in a listing and bookcases end up on Marketplace.
The practical wins stack underneath. Nothing wobbles, because floor-based millwork stands on the floor and is fixed to the wall for stability rather than support. Nothing needs a tip-over strap. Baseboard and trim die into the cabinetry instead of running behind it. And the depth becomes your decision rather than a retailer’s, which matters more than people expect once you start looking at the odd corners of your house.
Five Walls Worth Building Into
1. Flanking a fireplace
Almost every fireplace wall comes with two dead alcoves beside the chimney breast, and almost every one of them ends up holding a plant stand. Closed base cabinets on both sides swallow the media boxes, the board games and the cords. Open shelving above carries the books and the framed things. Keep the horizontal lines of the shelving talking to the mantel height and the wall reads as one designed object rather than three unrelated ones.
2. A wall of closed base with open upper
This is the workhorse for a family room, an office or a finished basement. Roughly two feet of depth below for the bulky and unphotogenic, shallower open bays above for what you want to see. The break between the two gives you a working surface at counter height, which is where the printer, the record player or the school-morning charging station ends up living.
3. A window seat with shelving over the top
A bay window or a dormer is an invitation. Build a bench across the opening with drawers underneath, run shelf towers up both sides, then bridge across the top above the window. You get a reading spot, a place for the blankets, and about eight feet of shelf out of a wall that was doing nothing but holding glass.
4. Shallow shelving in a hallway
Here’s the depth you didn’t know you had. A paperback needs seven or eight inches. Run a shallow shelf unit down a hallway wall and you’ll lose a few inches of hallway that nobody will ever notice, and gain the kind of library wall people build whole rooms for. The same trick works in a stair landing, or above a doorway where a bridge shelf can cross the opening.
5. Doors for the ugly stuff, open bays for the good stuff
The most useful question in a shelving design is which of your possessions deserve to be looked at. Router, cables, tax paperwork and the label maker go behind doors. Pottery, plants, the good bindings and the photos go on the open shelf. Getting this ratio right is most of the difference between built-ins that stay tidy and built-ins that become a wall of visible clutter with better joinery.

The Sag Section, Which Is Really About Span
If you take one technical point away from this post, take this one. A loaded bookshelf is a beam, and a beam has exactly two enemies: how far it spans between supports, and how thick it is. Books are the heaviest thing per running foot most people ever put on a shelf, heavier than dishes and far heavier than the styled ceramics in the photos you saved.
Span first. A shelf that runs four feet between verticals is a completely different structural animal from one that runs two, and the difference shows up as a visible smile in the middle by about year three. The fix is unglamorous and cheap at design time: more vertical dividers in the bays you intend to fill with books, fewer in the bays that will hold a plant and a photograph. That’s a decision made on paper, in about a minute, before anything gets cut.
Thickness second. We build with 3/4″ thermally fused laminate, the thickness commercial specifications generally require, rather than the 5/8″ board a lot of shelving uses to bring a price down. Thicker board is far stiffer over the same span, and it holds hinge and slide screws better, which is the other place cheap shelving units give themselves away when a door starts to droop. Our Tafisa TFL is LEED certified and made with up to 50% recycled content, and because it’s an engineered panel it stays dimensionally stable through a Barrie winter instead of moving the way solid wood does when the furnace runs for five months.
Adjustable, Fixed, or Some of Each
Most people want adjustable shelves everywhere, and then never adjust them. Still, a drilled pin system is worth having in display bays and in anything a kid uses, because those are the shelves whose job changes. Paperbacks, then binders, then whatever comes after binders.
Fixed shelves earn their place too. A fixed shelf is glued and joined into the structure, so it stiffens the whole unit and resists racking in a way an adjustable one can’t. The usual answer in a well-planned wall is both: fixed shelves at the structural points and at any height you’re certain about, such as the counter break or the shelf under a television, and adjustable pins through the rest.
Light the Bays You Want People to Look At
Open shelving in a room lit from the ceiling gets a bright top edge and a dark interior, which is the opposite of what a display bay needs. Low-profile LED strips tucked under the front edge of each shelf wash light down over what’s below, and they make a shelf of books look like a designed feature rather than storage. Inside a glass-front cabinet the effect is stronger still.
The timing point matters more than the fixture choice. Wiring channels and the notches that hide the driver get built into the panels in the shop, so lighting is easy to include during a build and awkward to add afterward. Say yes or no to it at the design table, not in year two.
Bring Us the Wall You’ve Been Ignoring
Everything we build, from custom shelving designed around what actually sits on it to full built-in wall units for living rooms and offices, gets planned in your home first. A designer comes to you with the samples, so you see the finishes in your own lighting and hold them next to your floors and your trim, which is not something a showroom photo can do for you. The appointment runs about ninety minutes: measure the wall, sort out the closed-to-open ratio, work out where the books are going. If the room has to do several jobs at once, we’ve written about that in our guide to home office built-ins for rooms that do two jobs. Everything is built in our Barrie workshop, installed by our own employees rather than subcontractors, and covered by the Homeowners Lifetime Warranty. When you’re ready, book your in-home design appointment and start by pointing at the wall.