Nobody has ever saved a photo of the inside of a kitchen island.
The outside, yes, endlessly. The waterfall edge, the fluted panel, the paint colour with the evocative name, the three pendants hovering above it like a decision that took six weeks (because it did). The island is the most photographed piece of cabinetry in the modern kitchen, and in most kitchen plans it is also the least planned on the inside. People will agonize over the stone and then accept whatever arrangement of doors and shelves happens to fill the base.
Which is a waste, because the island is prime real estate: it’s the cabinetry closest to where you actually cook. Here’s what we put inside islands, what each idea asks of the plan, and one honest section about when the answer is no island at all.
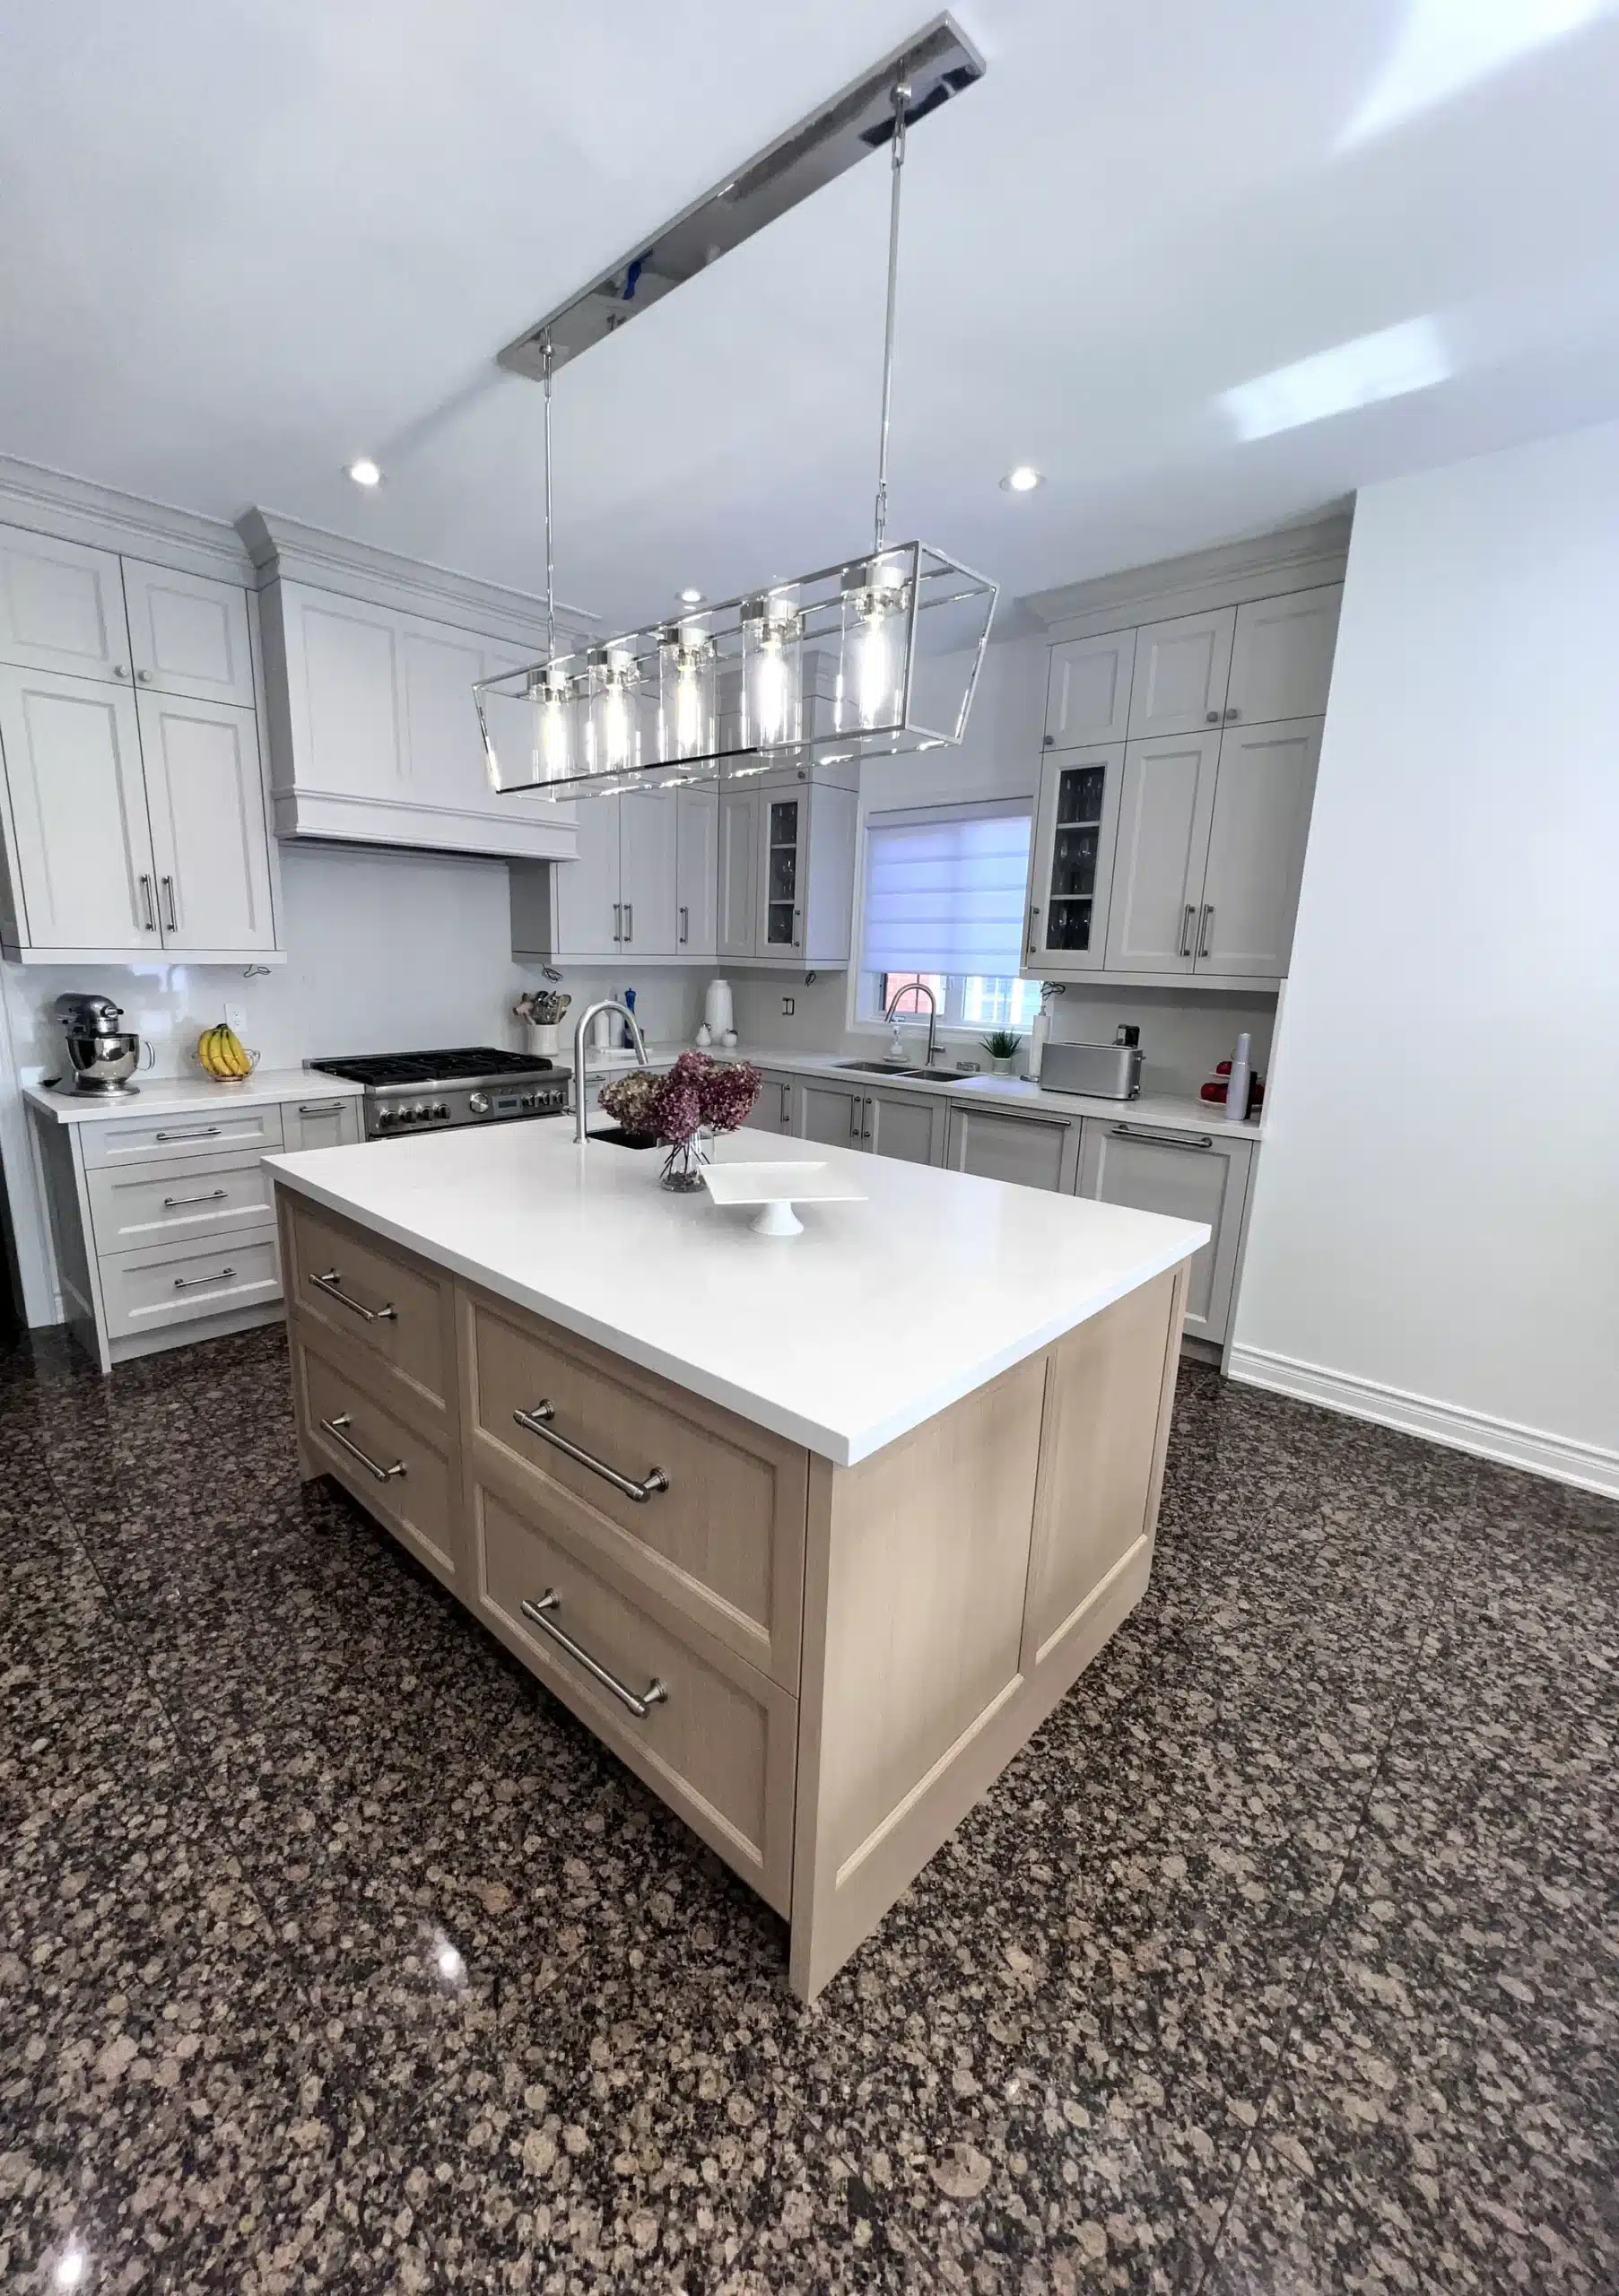
The pretty side faces the room. The working side is a five-drawer bank, and that’s the side this post is about.
Seven Ways to Fill the Box Under the Stone
1. Drawers, not doors
The single biggest upgrade inside any island: deep drawer banks instead of doors with shelves behind them. A door-and-shelf cabinet makes you crouch, reach into the dark, and unstack three pots to reach the fourth. A deep drawer brings all of it out into the light in one motion: full visibility, full extension, nothing living behind anything else. Pots, pans, mixing bowls, food storage containers and their maddening lids: all of it works better in drawers. The honest note is the same one that applies everywhere in millwork: drawers cost more than doors, because each drawer is a box plus hardware. Inside an island, where you reach dozens of times per meal, they’re the difference between cabinetry you use and cabinetry you negotiate with.
2. Store appliances where they’re used
The stand mixer, the food processor, the slow cooker. The heavy things that live in a far cupboard and therefore never get used. The island is usually where those appliances actually get deployed, so give them a dedicated deep drawer or cabinet right there. The appliance comes out, works, and goes home, all within one square metre. The cupboard across the kitchen stops being a museum of good intentions.
3. Decide which side pays for the seating
An island with stools has two sides, and they are in quiet competition. The seating overhang has to come from somewhere, every centimetre of knee space is a centimetre of cabinet depth you don’t get on that side. That’s not a flaw; it’s a trade, and the plan should make it on purpose. Usually the working side facing the range keeps the full-depth drawers, and the seating side gives up depth for knees. If breakfast at the island is the whole point of the project (and for a lot of families it honestly is), it’s worth reading about how a built-in banquette handles everyday seating before you commit; a banquette seats more people in less floor space and hands the island back its storage.
4. Waste and recycling facing the prep zone
Trace your hands during dinner prep: chop, scrape, turn, toss. The bin you toss into should be a pull-out in the island, directly behind your prep spot, so the whole motion is one pivot, not a walk to a bin by the back door with a dripping cutting board. A double pull-out handles garbage and recycling in one unit, out of sight and out of the dog’s reach. It’s one instance of a bigger principle: pull-out kitchen storage brings the contents to you instead of making you excavate, and nowhere does that pay off faster than the bin you use forty times a day.
5. The shallow cabinet on the back
If the seating overhang doesn’t run the island’s full length, or there’s no seating at all, the back face of the island can hold a shallow cabinet, and shallow turns out to be exactly right for a category nothing else serves: platters, trays, cutting boards, the roasting pan that appears twice a year. Stored upright with dividers in a shallow cabinet, each one slides out on its own. Stored flat in a deep cupboard, they nest into a stack that requires two hands and a small prayer. It’s leftover space by geometry and some of the most useful cabinetry in the kitchen by function.
6. The island as pantry overflow
Not every kitchen has room for a proper pantry, and the island can quietly absorb the difference. Deep drawers hold dry goods in one visible layer, no more discovering a third bag of flour behind the first two. Baking supplies in the island put them next to the surface where baking actually happens. The island shouldn’t become the whole pantry; bulk and rarely-used stock still belongs at the kitchen’s edges. But as overflow for the twenty ingredients you cook with weekly, the island is closer to the action than any pantry wall will ever be.

7. When the answer is no island
The honest section. An island needs clearance on every working side: enough for an open dishwasher, a crouched person at a drawer, and a second cook passing behind them. In practice that means a metre or more all around, and plenty of Ontario kitchens simply don’t have it. Squeeze an island in anyway and you get the thing nobody photographs: a kitchen you shuffle through sideways. If the room is tight, a peninsula delivers most of the storage and seating from one anchored end, and a worktable gives you the landing surface without pretending to be cabinetry. A good designer will tell you which one your room is asking for, even when it isn’t the one in your saved photos.
The Box Itself Still Matters
Whatever goes inside, the island is the hardest-working cabinet in the kitchen. It gets leaned on, sat at, kicked by stools, and its drawers carry the heaviest loads in the room. We build our cabinetry from 3/4″ thermally fused laminate, the thickness commercial specifications generally require, rather than the 5/8″ board many systems use. The thicker board is far stiffer and holds screws better, and screws are precisely what a drawer full of cast iron tests, every day, for years. If you’re weighing a full kitchen project rather than just the island, our custom kitchen cabinets page covers how we build the whole room, and the kitchen island storage page goes deeper on the island itself.
Plan Both Sides of the Island
The stone, the colour, and the pendants will get plenty of attention; our job is to make sure the inside gets the same. A designer comes to your home with the samples (so you see finishes in your own lighting, next to your own floors) and works through the layout with you in about ninety minutes. Kitchen projects get two of those appointments: the first for design, the second for final pricing, so the numbers land after the plan is right rather than before. Everything is built in our Barrie workshop, installed by our own employees, not subcontractors, and covered by the Homeowners Lifetime Warranty. Book your in-home design appointment, and when you bring the saved island photos, we’ll ask the question the photos never answer: what’s inside?